The Chiptune Jukebox
February 2018A "Chiptune" jukebox you ask, what's that? Well...
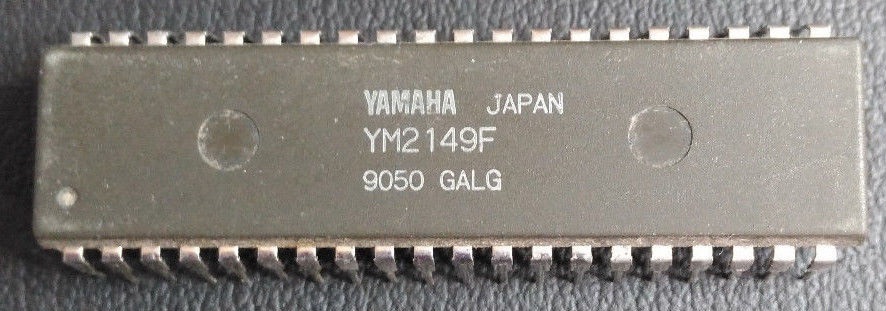
This is a Yamaha YM2149 IC chip, it's a replacement chip to the AY-3-8910. It was used in the late 70's through to the 90's to make games consoles and computers make noise, namely the Atari ST.
I've always been a fan of the old school bleep blop bloopy noises of old game consoles and computers (and ahem early 2000's keygens ahem) so when I had the chance to pick up a chip I couldn't resist!
In this project I am going to be using the chip to build a retro sounding jukebox along with an Arduino, Orange Pi Zero and some other random electronic bits.
For those who might be interested in doing this project for yourself I will also be showing you how I eventually managed to install SC68, a piece of software that plays the SNDH format sound files. You can view that guide in my other post.
Florent Flament's tech blog post has been a MASSIVE help in getting this going and I recommend that you go and check out his site if you're thinking of giving this a go yourself.
I will begin by explaining what I hope to achieve from this project. If that's not already obvious by the title, I want a jukebox that uses the YM2149 chip to play retro tunes when a button is pressed.
Here are the materials I will be using for this project, not including wires and small components like capacitors and the like:
- Yamaha YM2149F
- Orange Pi Zero
- Arduino Nano
- Class D Audio Amplifier
Apart from the above I will also be needing a speaker and an enclosure or some sort of box to put it all in and some buttons but we'll get to that later on.
To begin, I shall install Armbian onto the Orange Pi Zero, this isn't really a tutorial so I won't go into how to do that but I'll just say that's done and I've also installed Python and some libraries as well as compiled SC68.
I downloaded an archive of SNDH files and extracted them on the Pi also. I then installed OPi.GPIO so I could use the Pi's GPIO pins to send signals and detect button presses.
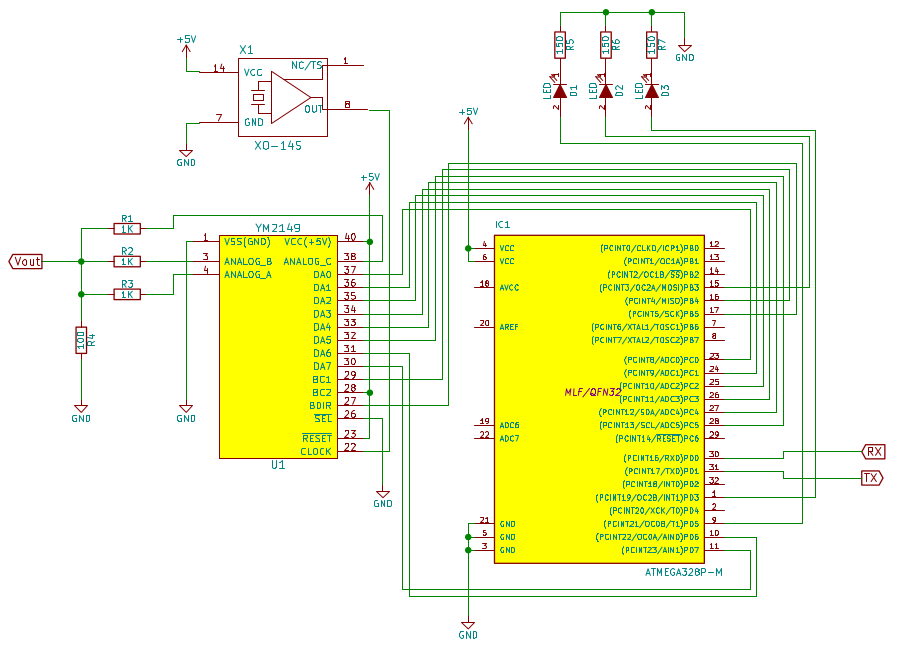
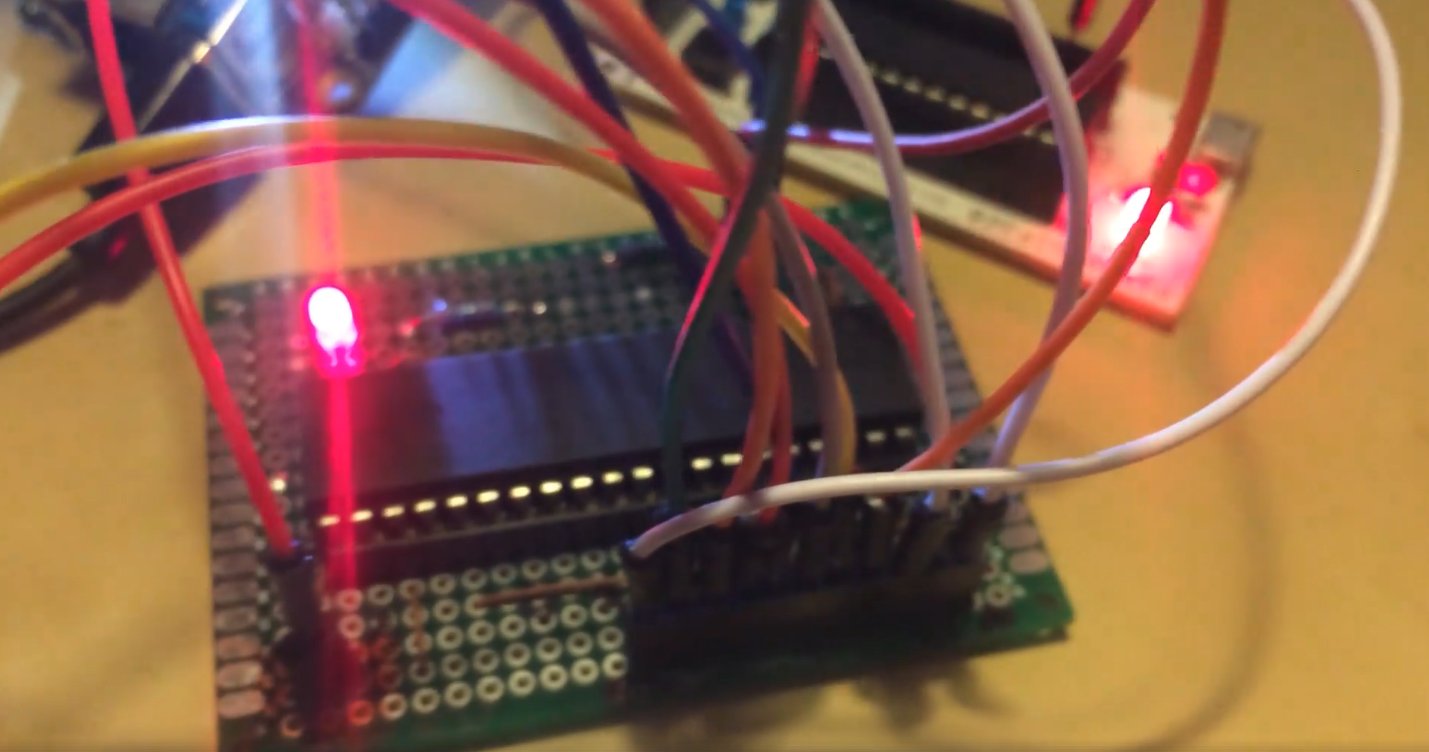
With the Pi ready for action, I soldered the YM2149 onto some protoboard according to the schematic from Florent's site. I did however leave out the LEDs in the top right and the crystal oscillator and instead provided the clock signal from an ATMega 328 chip as I have an idea to use the chip to provide text and playing data to a screen also in the future, hopefully, maybe. I routed all cables to headers so I could easily plug them all in.
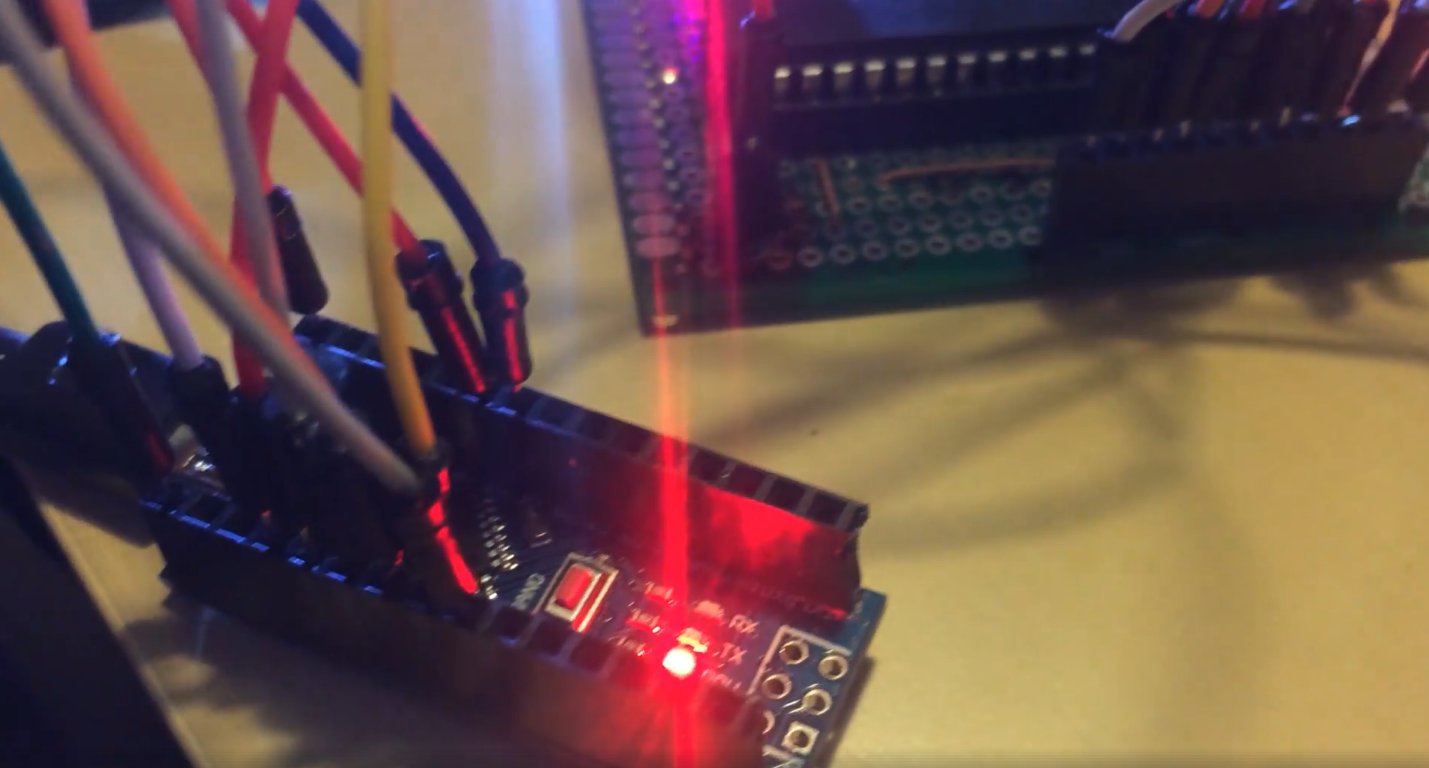
After all the soldering was done, I flashed the Arduino Nano with the main.c file from the GitHub repo using the Orange Pi Zero and used the Arduino IDE to program the ATMega chip (My self built Arduino Uno named "Pandachip 328") to output a clock signal to feed the YM2149 IC.
Arduino's all hooked up and programmed, Orange Pi all setup so next I did some Python script editing on the files from the GitHub repo to start and stop the audio playback and to choose a random SNDH file from a folder and it was all working just lovely. The Arduino Nano plugs into the Orange Pi via USB and controls the YM2149.
So, what's next? Well I need to do a lot more work on the Python script as currently it starts OK and stops OK but then continues to play another track again and again instead of stopping fully.
Update!
Here's another video of it in action in time for October, the Halloween month! (OK, it's just an excuse to blast out the Munsters theme tune)
Since last time you may notice it now has an audio amplifier as well as displays a load of scrolling green binary whilst playing. This is because I am thinking of including a screen on the final build that will display a menu of songs to scroll through and then play the binary whilst a track is playing. I am still unsure of this at the moment however.
The binary you see is created from the data stream being sent to the Arduino Nano. It's formatted like so:
dataBuffer = str((self.__data))
sys.stdout.write('\033[1;32;40m' + '  '.join(format(ord(x), 'b') for x in dataBuffer) + '\033[0;37;40m')
sys.stdout.flush()
This basically takes the data that is being sent out and writes it out. The \033[1;32;40m makes the text green. It's then followed by a space and then the dataBuffer string which contains the current data being sent out is converted to binary and then finished off with \033[0;37;40m which makes the text go back to its default colour and background settings.